Upload Your Schedule Using a CSV
This article explains how to use the CSV Upload feature to bring schedules into subQdocs when you don’t have an integration (such as ModMed). Once uploaded, your schedule is ready for recording with the same workflow you’re used to.
When to use CSV upload
- You don’t have an active scheduling integration
- You want a lightweight way to get started quickly
- You occasionally need to upload or refresh schedules in bulk
What a CSV is (and why you’re using it)
A CSV is a simple file exported from your existing system (for example, your EHR, practice management system, or scheduling tool). It contains a table of information—patients, appointments, dates, and providers—in a format subQdocs can easily read.
Think of it as a snapshot of your schedule.
You export the CSV from your current system, then upload it into subQdocs so we can create your schedule and make those visits available for recording. No manual re-entry is required.
If you don’t have an integration enabled, CSV upload is the fastest way to get your Practice up and running.
Step 1: Prepare your CSV file
Your CSV does not need to be perfectly formatted. subQdocs is flexible and can handle extra rows or headers.
The file must include:
- Patient name (first/last in one column or separate columns)
- A unique identifier: either Date of Birth or Medical Record Number
Optional (but recommended) columns include:
- Appointment date
- Appointment time
- Provider
- Status (for example: scheduled, cancelled)
Step 2: Upload the CSV
- In the subQdocs web app, choose Upload CSV.
- Select your CSV file.
- Review the file preview to confirm the data looks correct.
Step 3: Map your columns
The first time you upload a CSV, you’ll map your columns so subQdocs knows how to interpret the file.
- Select which column contains the patient name.
- Choose the column for Date of Birth or Medical Record Number.
- Map appointment date and time (these can be in separate columns).
- Select the provider column if available.
You can also choose which appointment statuses to include. For example, many Practices exclude cancelled appointments.
Step 4: Upload and review your schedule
Once uploaded:
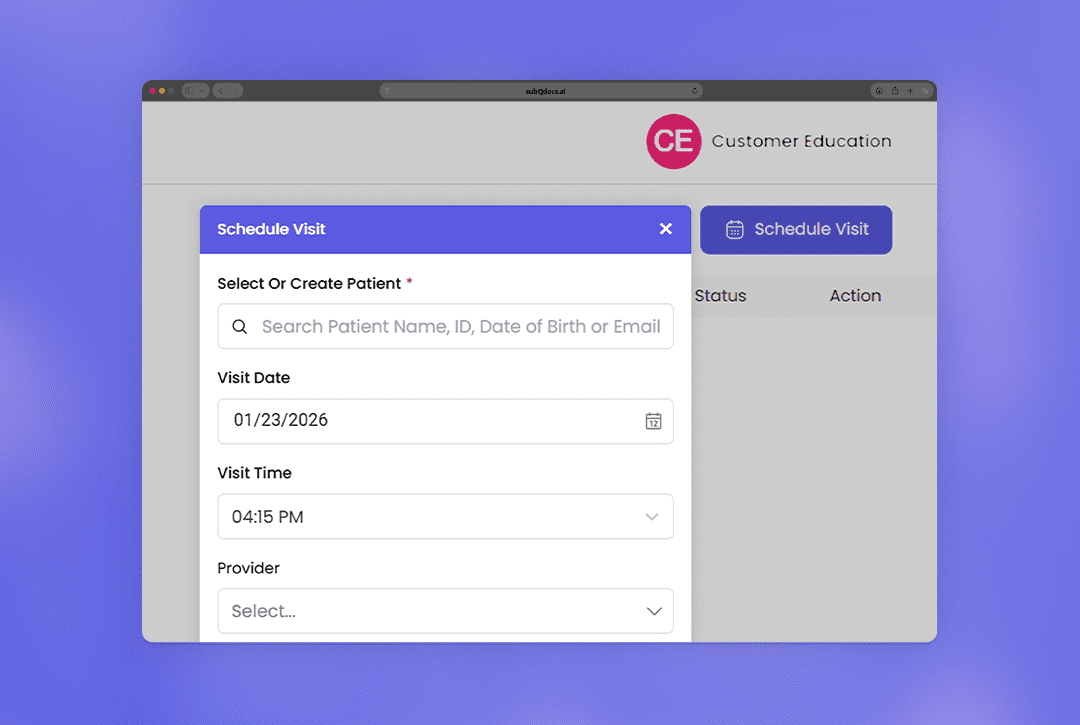
- Your schedule will appear in the Schedule view.
- Only appointments matching your selected statuses will be included.
- Cancelled appointments can be automatically excluded.
Subsequent uploads (important behavior)
After your first upload, subQdocs saves your column mappings.
- You can reuse the same mappings for future uploads.
- If needed, click Edit Mappings to adjust them.
When you upload a new CSV:
- Appointments between the earliest and latest appointment times in the file are refreshed.
- Previously recorded visits are preserved.
- Duplicate appointments are avoided.
If something doesn’t look right
- Edit your column mappings and re-upload.
- Start with a clean, simple CSV to validate your setup.
- Once confirmed, upload files exported directly from your system.
Tips for best results
- Extra header or footer rows in your CSV are okay.
- Clean files are easier to troubleshoot, especially for first-time setup.
- CSV files are plain text and can be edited in tools like Google Sheets or a text editor if needed.
Thanks for using the CSV Upload feature. If you have feedback or need help tuning your setup, we’re always happy to help.
Additional Resources
A dermatologist, a tech visionary, and an AI expert joined forces to redefine value creation and documentation efficiency in dermatology—unlocking smarter workflows and better patient care.


Reserve your spot
Please share a few details so we can plan the evening.